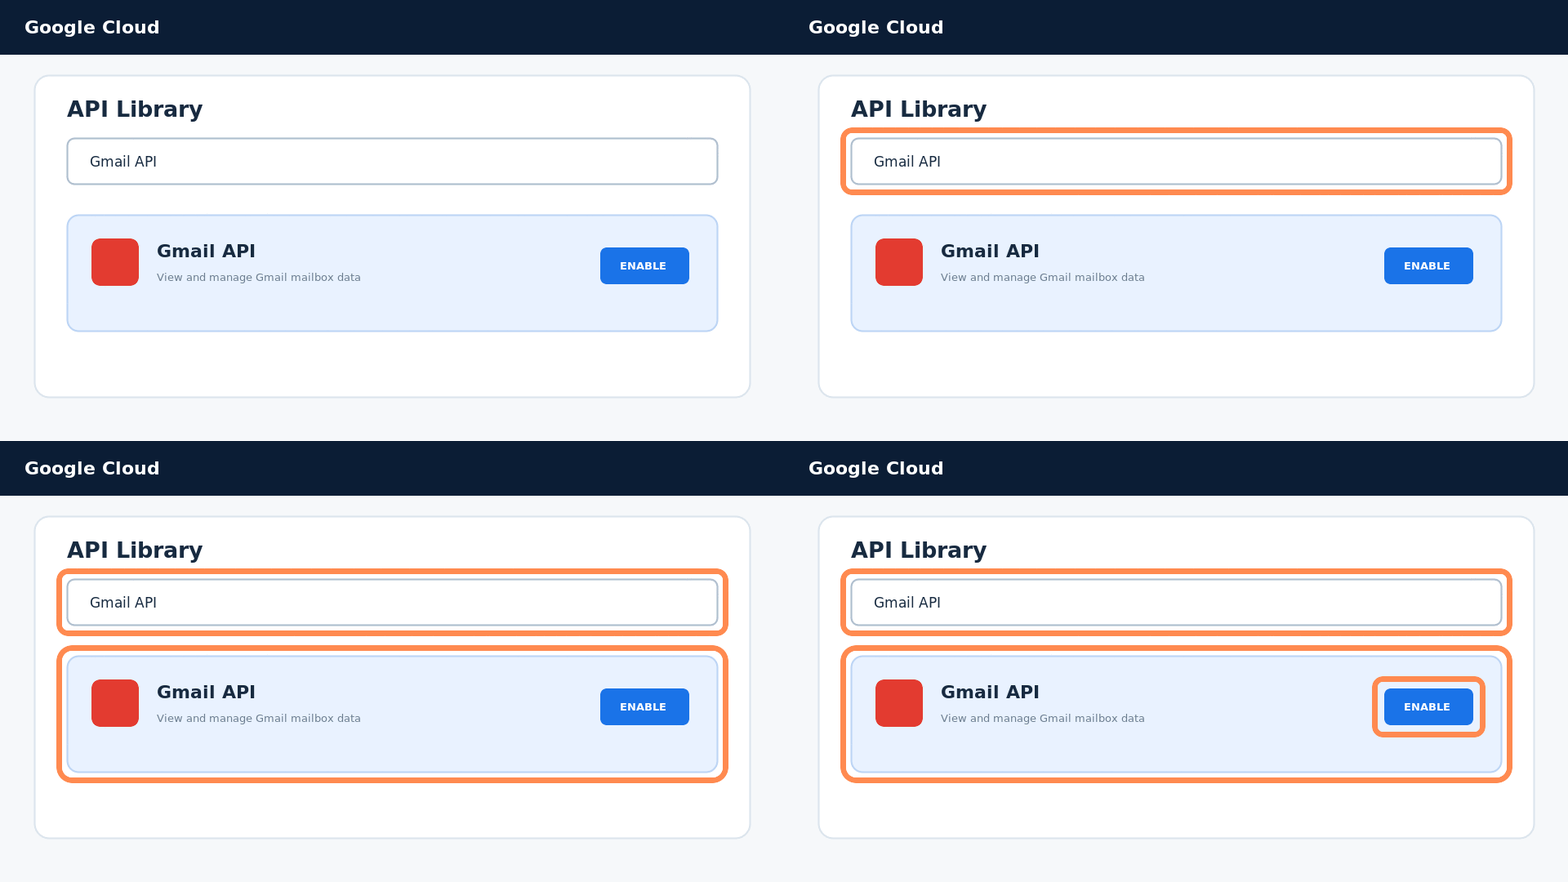
Create your own Google Cloud OAuth client, grant only the permissions MailMex needs, and connect each campaign sender securely.
Typical setup10–15 minutes
Client typeWeb application
Required APIGmail API
Extra servicesNo Pub/Sub required
i
MailMex does not create this project for you. You control the Google Cloud project, OAuth consent configuration, and connected Gmail accounts.
00
Before you begin
Collect the two values that must match later.
Open your deployed MailMex Campaign page, select a task, enter its sender email, and open the Gmail setup dialog. Keep the exact callback URL shown there available.
Development callback example
http://localhost:8001/app/google-callback
Production callback pattern
https://YOUR-MAILMEX-DOMAIN/app/google-callback
!
Use the callback displayed by the MailMex application, not this marketing website. Production callbacks must use HTTPS and match exactly, including scheme, host, path, and port.
01
Create a Google Cloud project
Keep MailMex credentials isolated and under your control.
Declare the same minimum scopes that MailMex requests.
Open Google Auth Platform → Data Access, choose Add or remove scopes, and add these Gmail permissions:
Scope
Why MailMex needs it
https://www.googleapis.com/auth/gmail.send
Send each campaign message through the connected Gmail account.
https://www.googleapis.com/auth/gmail.readonly
Read relevant delivery-failure notices for Delivery Health checks.
Google sign-in also supplies the basic openid and email identity scopes. Do not add broad mailbox permissions that MailMex does not request.
Why not use only gmail.modify?
gmail.modify can replace both scopes functionally: it can read, compose, and send mail. It also authorizes mailbox modifications that MailMex does not need. The current MailMex authorization request explicitly asks for gmail.send and gmail.readonly, so your Data Access configuration must declare those same scopes. Use gmail.modify only if the MailMex application is intentionally changed to request and use it.
05
Choose your audience
Decide who can connect a sender while you test.
Internal
Choose Internal when the app is owned by a Google Workspace organization and only people in that organization will connect. Personal Gmail accounts cannot use an Internal app.
External
Choose External for personal Gmail accounts or senders outside your Workspace organization. While the app remains in Testing, add every sender address under Audience → Test users.
!
Google says test-user authorizations expire after seven days while an External app is in Testing. A sender may need to reconnect until the app is published.
06
Create a Web OAuth client
The downloaded JSON is what MailMex validates and stores securely.
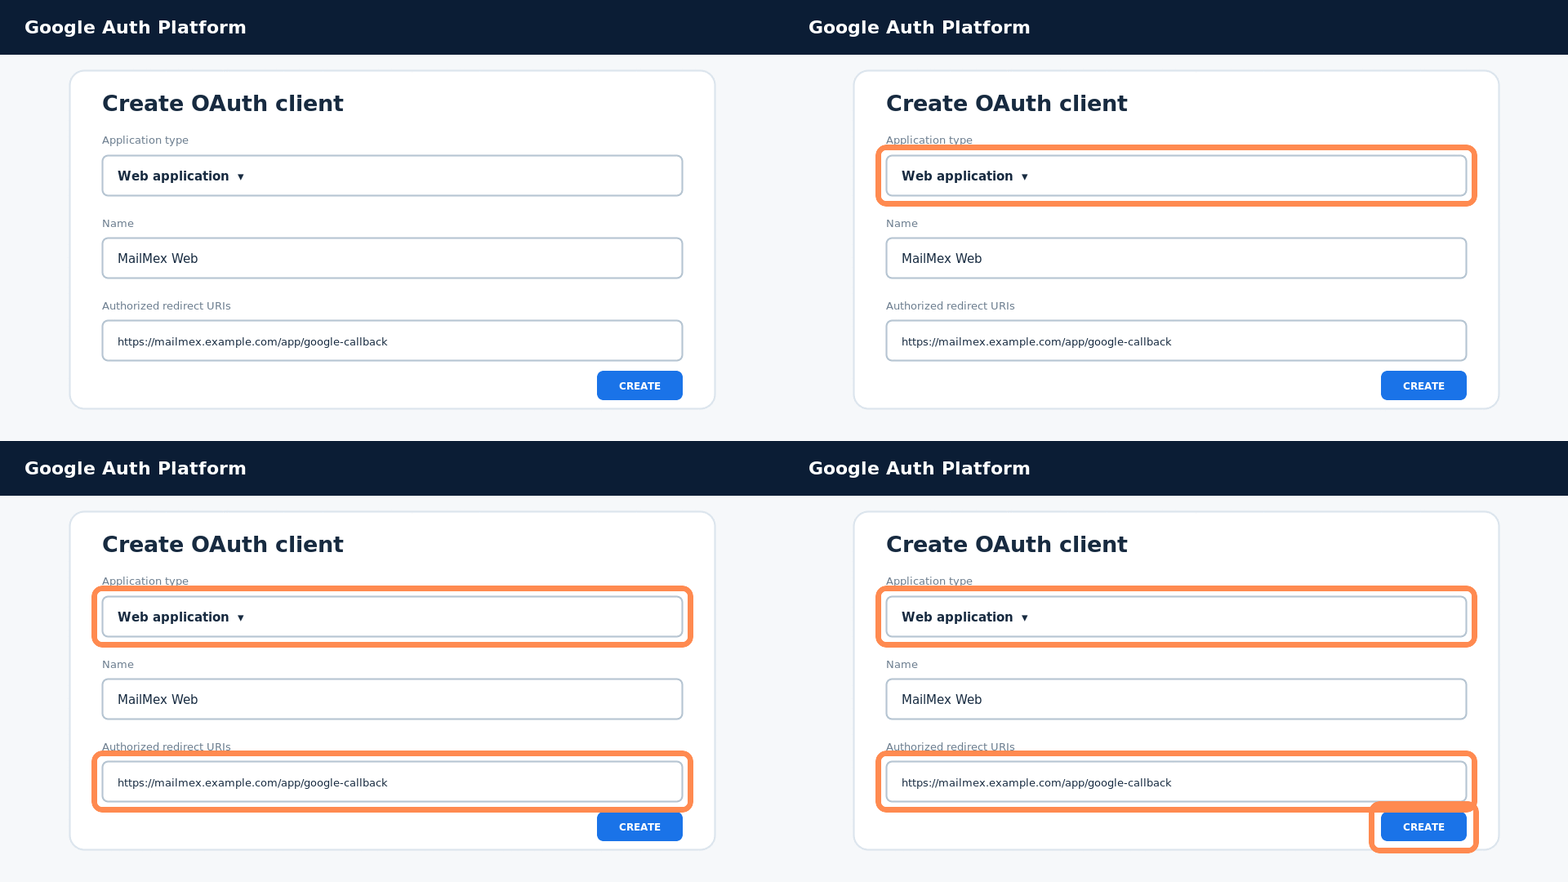
Open Google Auth Platform → Clients and choose Create client.
Select application type Web application.
Give it a descriptive name, such as MailMex Web.
Under Authorized redirect URIs, add the exact MailMex callback collected in Step 00.
Create the client, then download its JSON file.
Choose Web application and paste the callback exactly as MailMex displays it.
MailMex expects a Web application JSON containing client_id, client_secret, project_id, and at least one valid redirect_uri. The file must be smaller than 64 KB.
✓No Authorized JavaScript origin is required for MailMex’s server callback flow.
07
Upload and connect in MailMex
Finish the two-part setup for the selected campaign task.
In MailMex, open Campaign and select the task you want to configure.
Enter the sender’s exact Gmail or Google Workspace email address.
Open Gmail setup and choose the downloaded Web application OAuth JSON.
After MailMex confirms the JSON, choose Continue with Google.
Sign in as the same sender, review the permissions, and allow access.
Return to MailMex and confirm the task shows Connected.
Upload the Web client JSON, authorize the matching sender, and check for Connected status.
i
Each task has an independent sender and OAuth connection. Repeat the upload and authorization for every task you use. The same sender cannot be assigned to multiple tasks.
08
Prepare for production
Testing mode is suitable for setup—not a permanent public launch.
Use an HTTPS MailMex callback on a stable domain.
Publish working homepage, Privacy Policy, and Terms pages on verified domains.
Keep project-owner and developer-contact addresses monitored.
Request only the scopes documented above and describe their use accurately.
If people outside your Workspace organization will connect, review Google’s current verification requirements in the Verification Center.
Consider separate Google Cloud projects for development and production.
09
Troubleshooting
Fast checks for the most common connection failures.
Error 400: redirect_uri_mismatch
Copy the callback shown by MailMex again and compare it with the OAuth client’s Authorized redirect URI character by character. Check HTTP versus HTTPS, port, hostname, path, and trailing slash.
Access blocked or Error 403: access_denied
If the app is External and in Testing, add the sender under Audience → Test users. If it is Internal, the sender must belong to the owning Workspace organization.
MailMex rejects the JSON file
Download the OAuth client again and confirm its application type is Web application. Do not upload an API key, service-account key, Desktop client, or a renamed non-JSON file.
Gmail disconnects after seven days
This is expected for External apps left in Testing. Reconnect the sender while testing or complete the steps required to publish the OAuth app.
Delivery Health cannot inspect bounces
Confirm gmail.readonly is declared under Data Access, then disconnect and reconnect Gmail so the sender grants the newer permission.
Connected sender is not the address entered
Disconnect the task and repeat authorization while signed in to the exact sender address. The OAuth identity must match the address configured for that task.
Your Gmail sender is ready.
Return to MailMex, import a small test audience, and send a controlled test campaign before using a production list.